

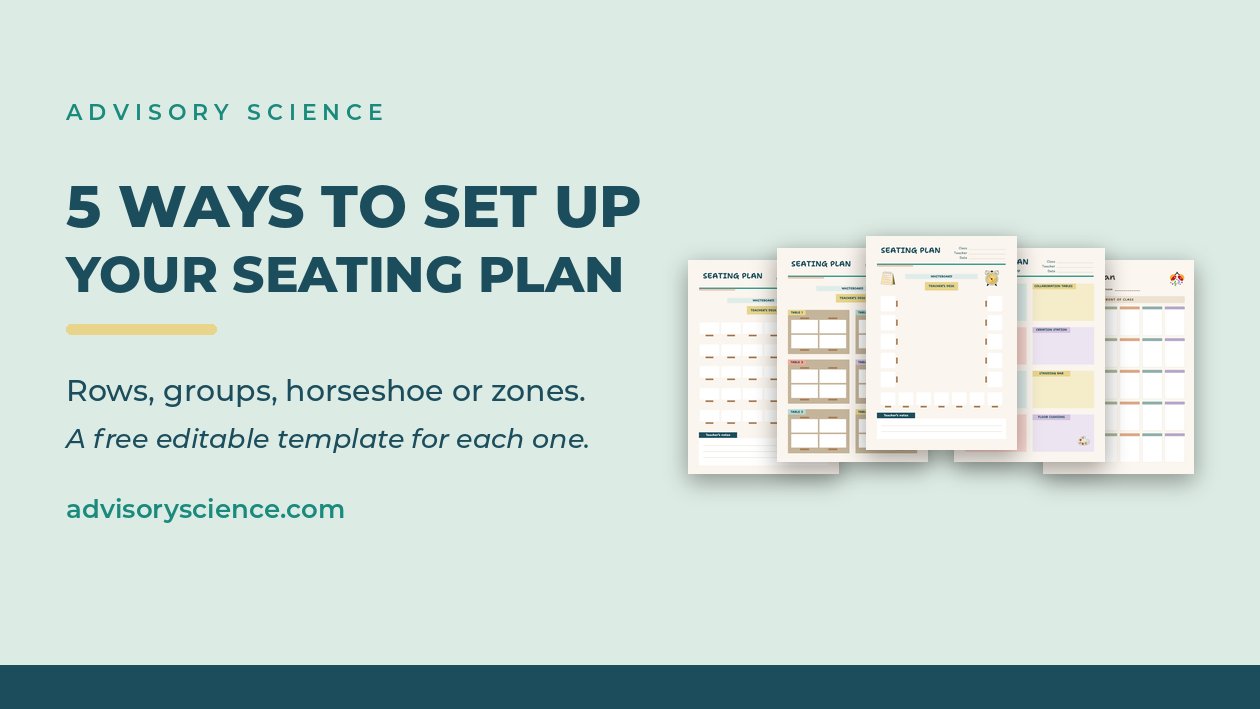
A classroom seating plan template saves you drawing the room out again every September. Where children sit changes how the lesson goes. Rows are quiet and face the front. Groups talk more and get more done together. A horseshoe means everyone can see everyone, which is either what you want or exactly what you do not.
Most of us pick one layout in September and keep it all year. It is worth trying more than one, because the right layout depends on what you are teaching that week, not on what the room looked like when you walked in.
Here are five layouts, what each one is good for, and a free editable template for every one.
1. Rows, facing the front
Children sit in pairs or singles, all facing the board. Talk is limited, sightlines are clear, and you can walk every row without stepping over anyone.
Use it for explaining, modelling, tests, and any lesson where you need everyone watching the same thing at the same time.
The catch is that group work is awkward. Children have to turn round, and the ones at the back drift.
2. Groups of four or six
Tables pushed together, children facing each other. Talk goes up, which is the point.
Use it for investigations, problem solving, anything where children need to share equipment, and any lesson built on discussion.
The catch is that a third of the class has their back to the board. Plan for that, or you will spend the lesson asking children to turn round.
3. Horseshoe round the edge
One open ring, everyone facing in. Every child can see every other child, and you can stand in the middle.
Use it for class discussion, debate, reading aloud, and circle time. It is the best layout for making a quiet class talk.
The catch is that it eats space, so it works better with smaller classes or bigger rooms.
4. Flexible zones
Different areas for different jobs. A carpet or floor space, a table for guided work, quiet desks for independent work.
Use it in primary classrooms, and in any lesson where children move between activities. It also gives you somewhere to take a small group without moving the whole class.
The catch is that it needs clear rules about who goes where and when, or it turns into wandering.
5. A blank grid to draw your own
No room is a standard shape. If yours has a pillar in the middle, a sink along one wall, or a door that opens onto a table, none of the four layouts above will fit as they are.
Draw your own on a blank grid, then keep the copy. Next September you will not have to work it out again.
One thing that saves time in September
Whichever layout you pick, write the class list on it. Names, groups and a line for notes, all on the same page as the plan, so a cover teacher can pick it up and know who is who.
Take all five
Every template above is free with Canva for Education. Edit the names, print it, and it is done.
While you are setting the room up
Three things that pair with a seating plan, all editable in Canva.
Whole School Curriculum Overview Bundle, Y1 to Y6, £24.99. Editable parent newsletters for every subject and every year group. Write the termly update once, then edit it each term instead of starting from scratch.
Whole School Curriculum Overview Bundle, Y1 to Y6
Science Primary Curriculum Overview Pack and Worksheets, Y1 to Y6, £3.99. The science half on its own, if the whole bundle is more than you need.
Science Primary Curriculum Overview Pack and Worksheets, Y1 to Y6
Mindfulness Cards for Teachers, £4.99. Short prompts for calm and focus. September is the month you need them.
Mindfulness Cards for Teachers
More in the planning and productivity hub:
Browse the planning and productivity hub
Which layout do you use, and did you change it after the first half term? Tell me in the comments.
Comments ()